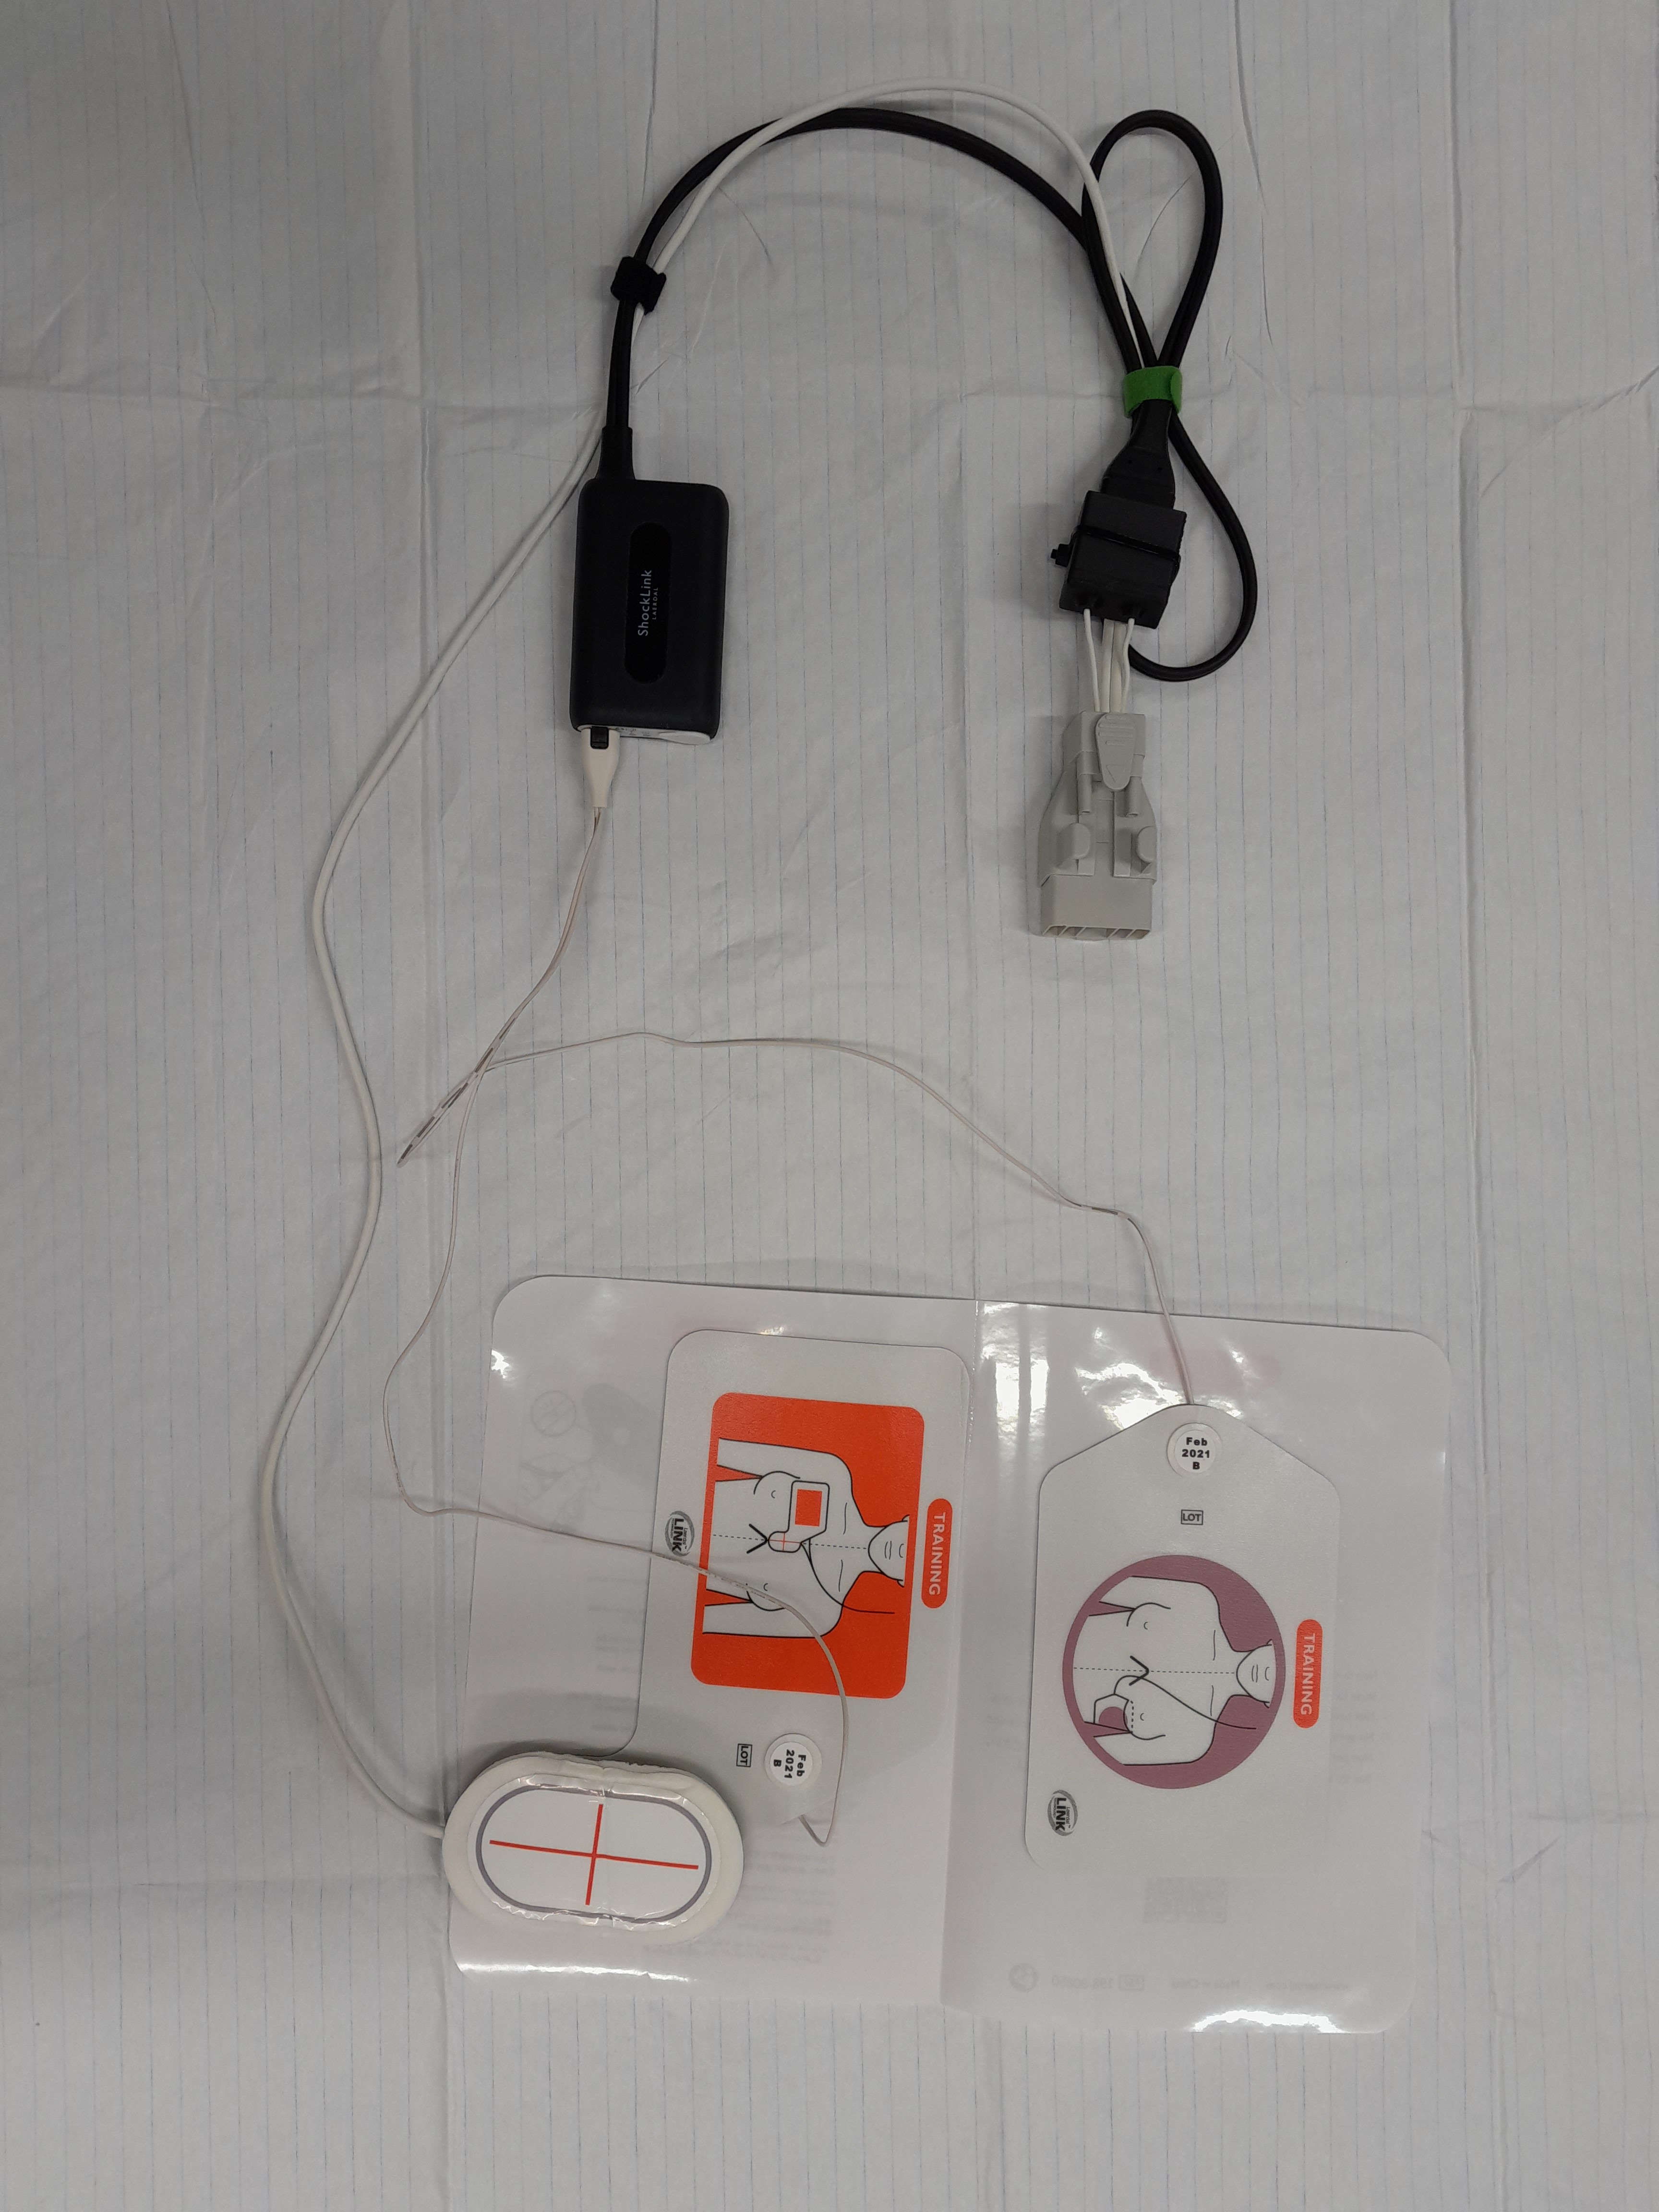
At my shop, we recently bought the ShockLink training system from Laerdal. It is basically a cable to put between your live defibrillator and manikin, with a built-in ECG-generator and energy dissipator. As with all Laerdal products, it comes equipped with a defibrillation electrode plug for Phillips-brand defibrillators. It’s a great product and really easy to use, even without a manikin. You can simulate defibrillating a bag of potatoes if you like.
The problem is: At my hospital, we only have Zoll R-Series defibrillators, which use different plugs. So we need to use an adapter to connect ShockLink to our machines.
If we want to use the Zoll CPR-Sensor, as we do in real life, we even need TWO adapters. One to break out the CPR-sensor from the electrode contacts, and one to connect those with the ShockLink cable. This has two significant drawbacks.
First, cost, as the adapters are over 100 $ each. If you are the unlucky owner of a Corpuls defibrillator, the adapter is even priced at an insane 424 $!!!
And second, ergonomics. Instead of one cable from defibrillator to electrodes, you get a bunch of them, with y-pieces and an unwieldy adapter in the middle. Instead of ACLS-skills, you need a bachelor degree in advanced cable management, as you can clearly see in this Laerdal video.
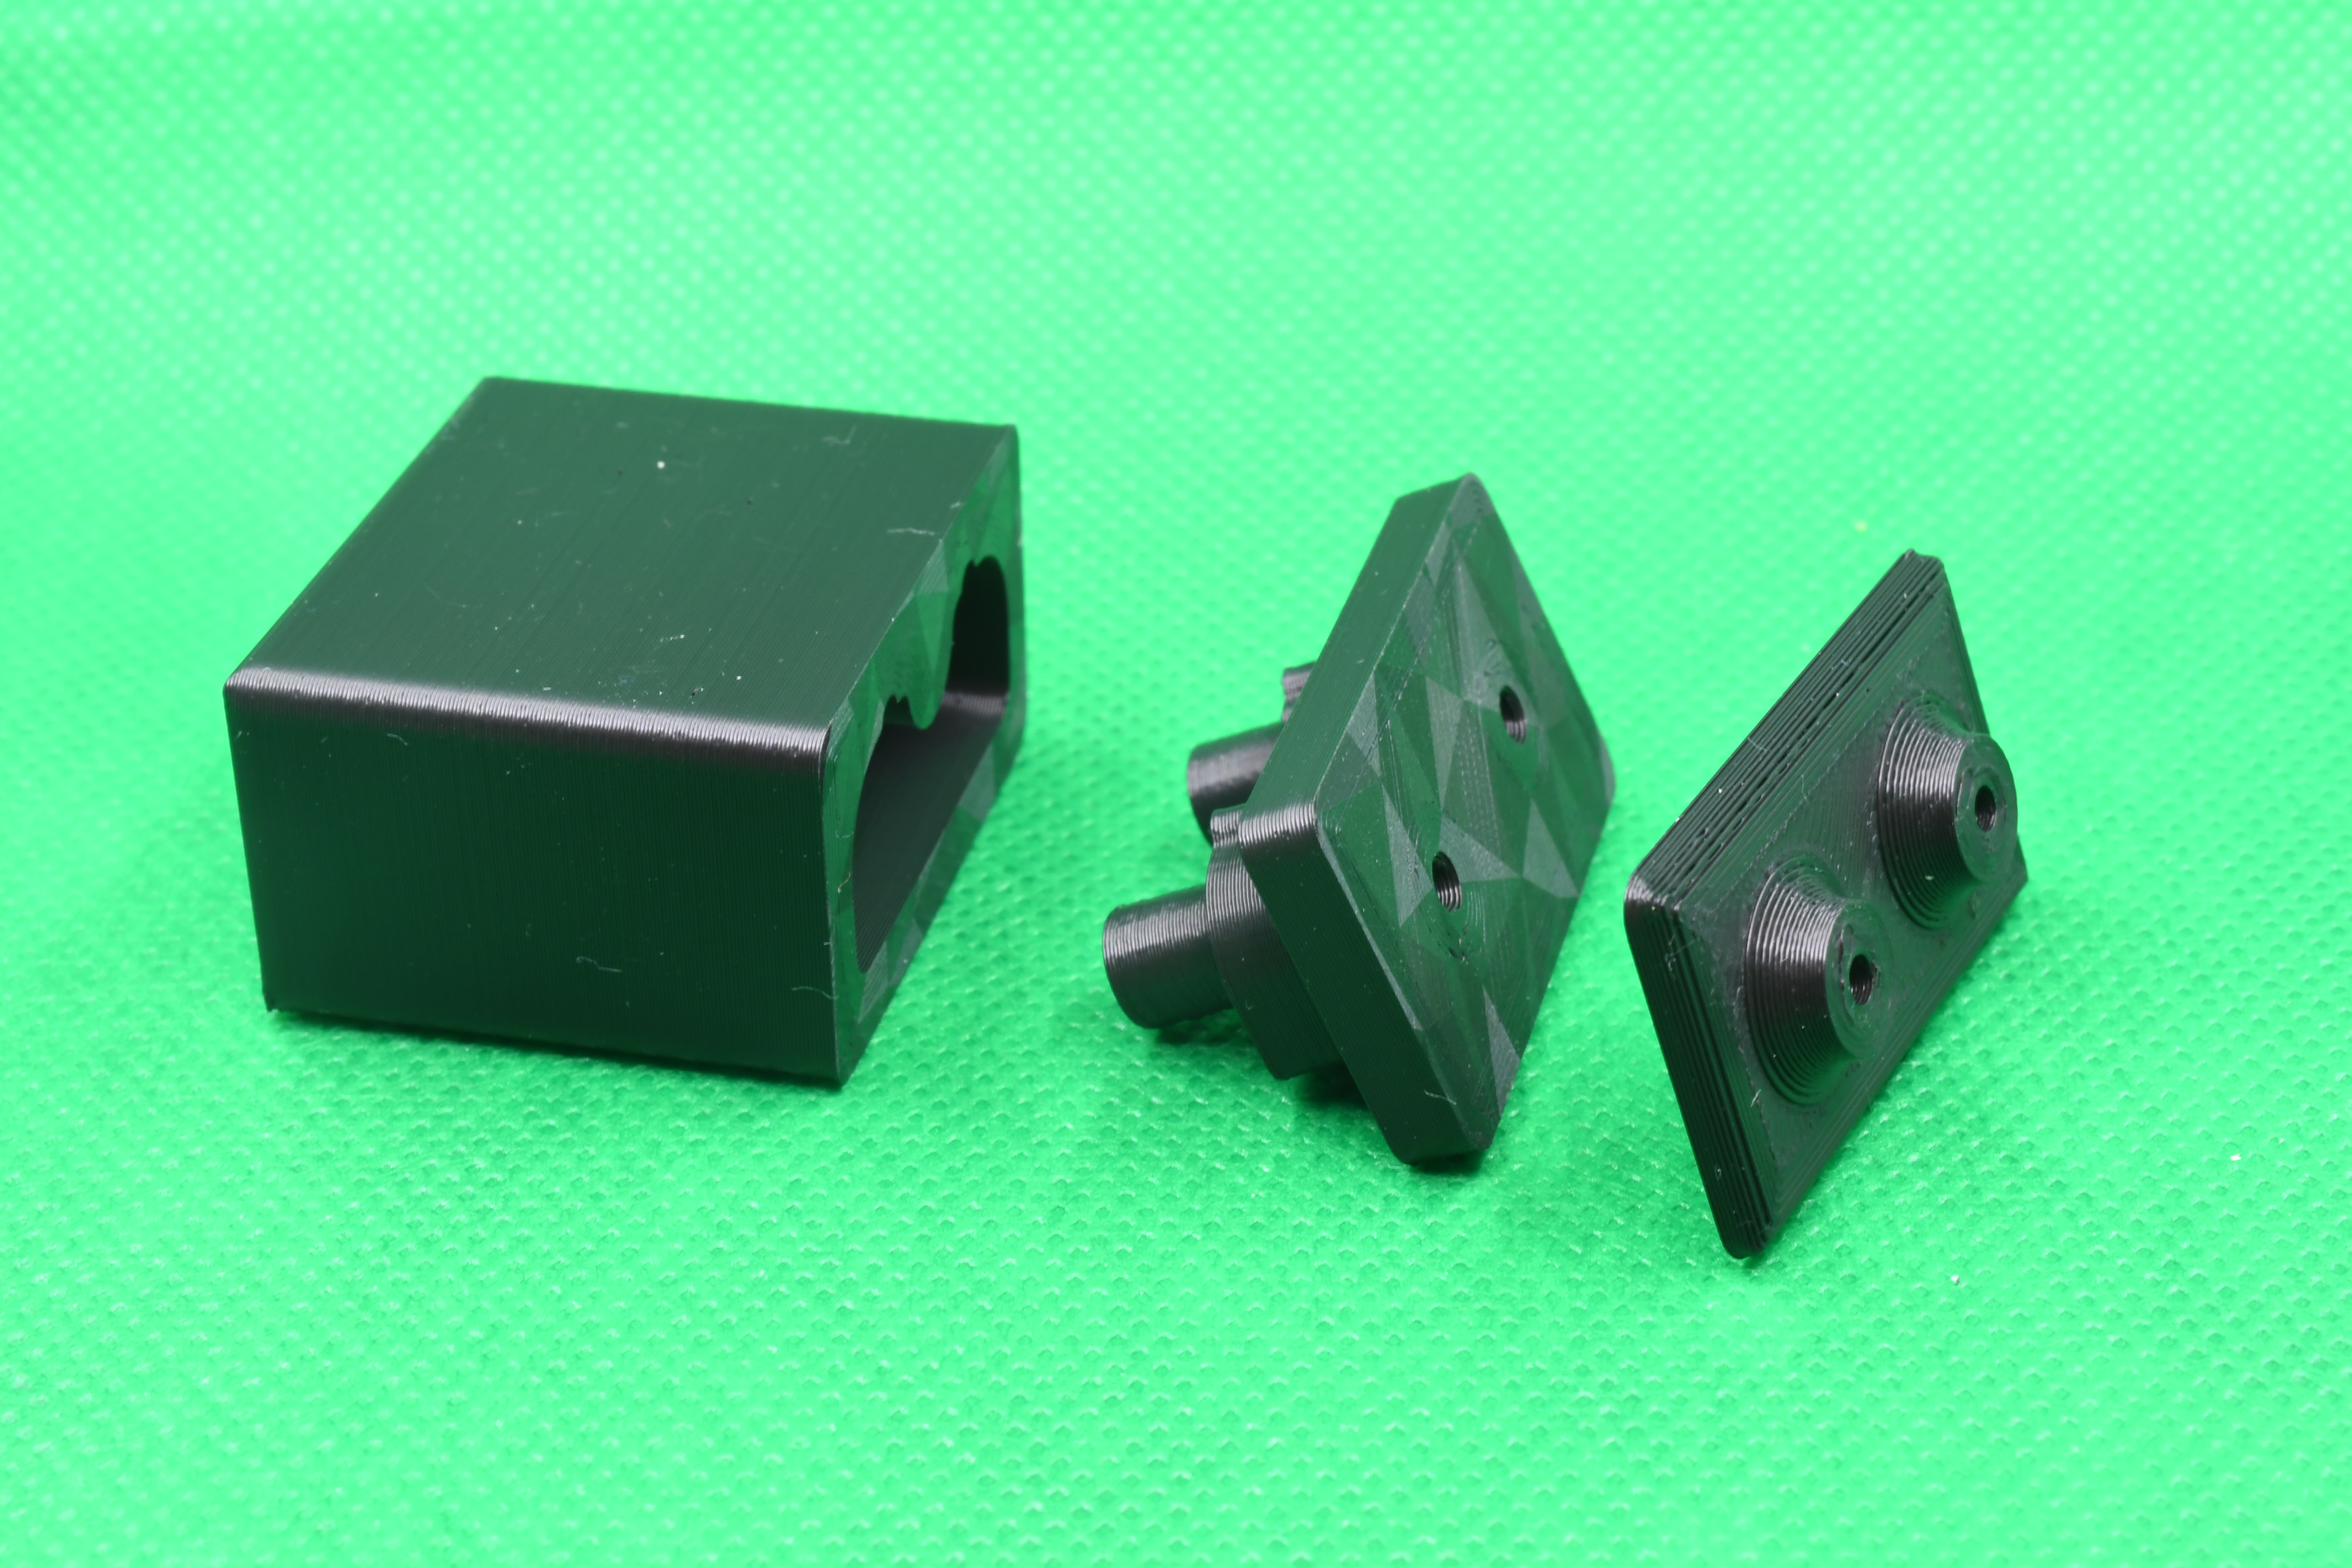
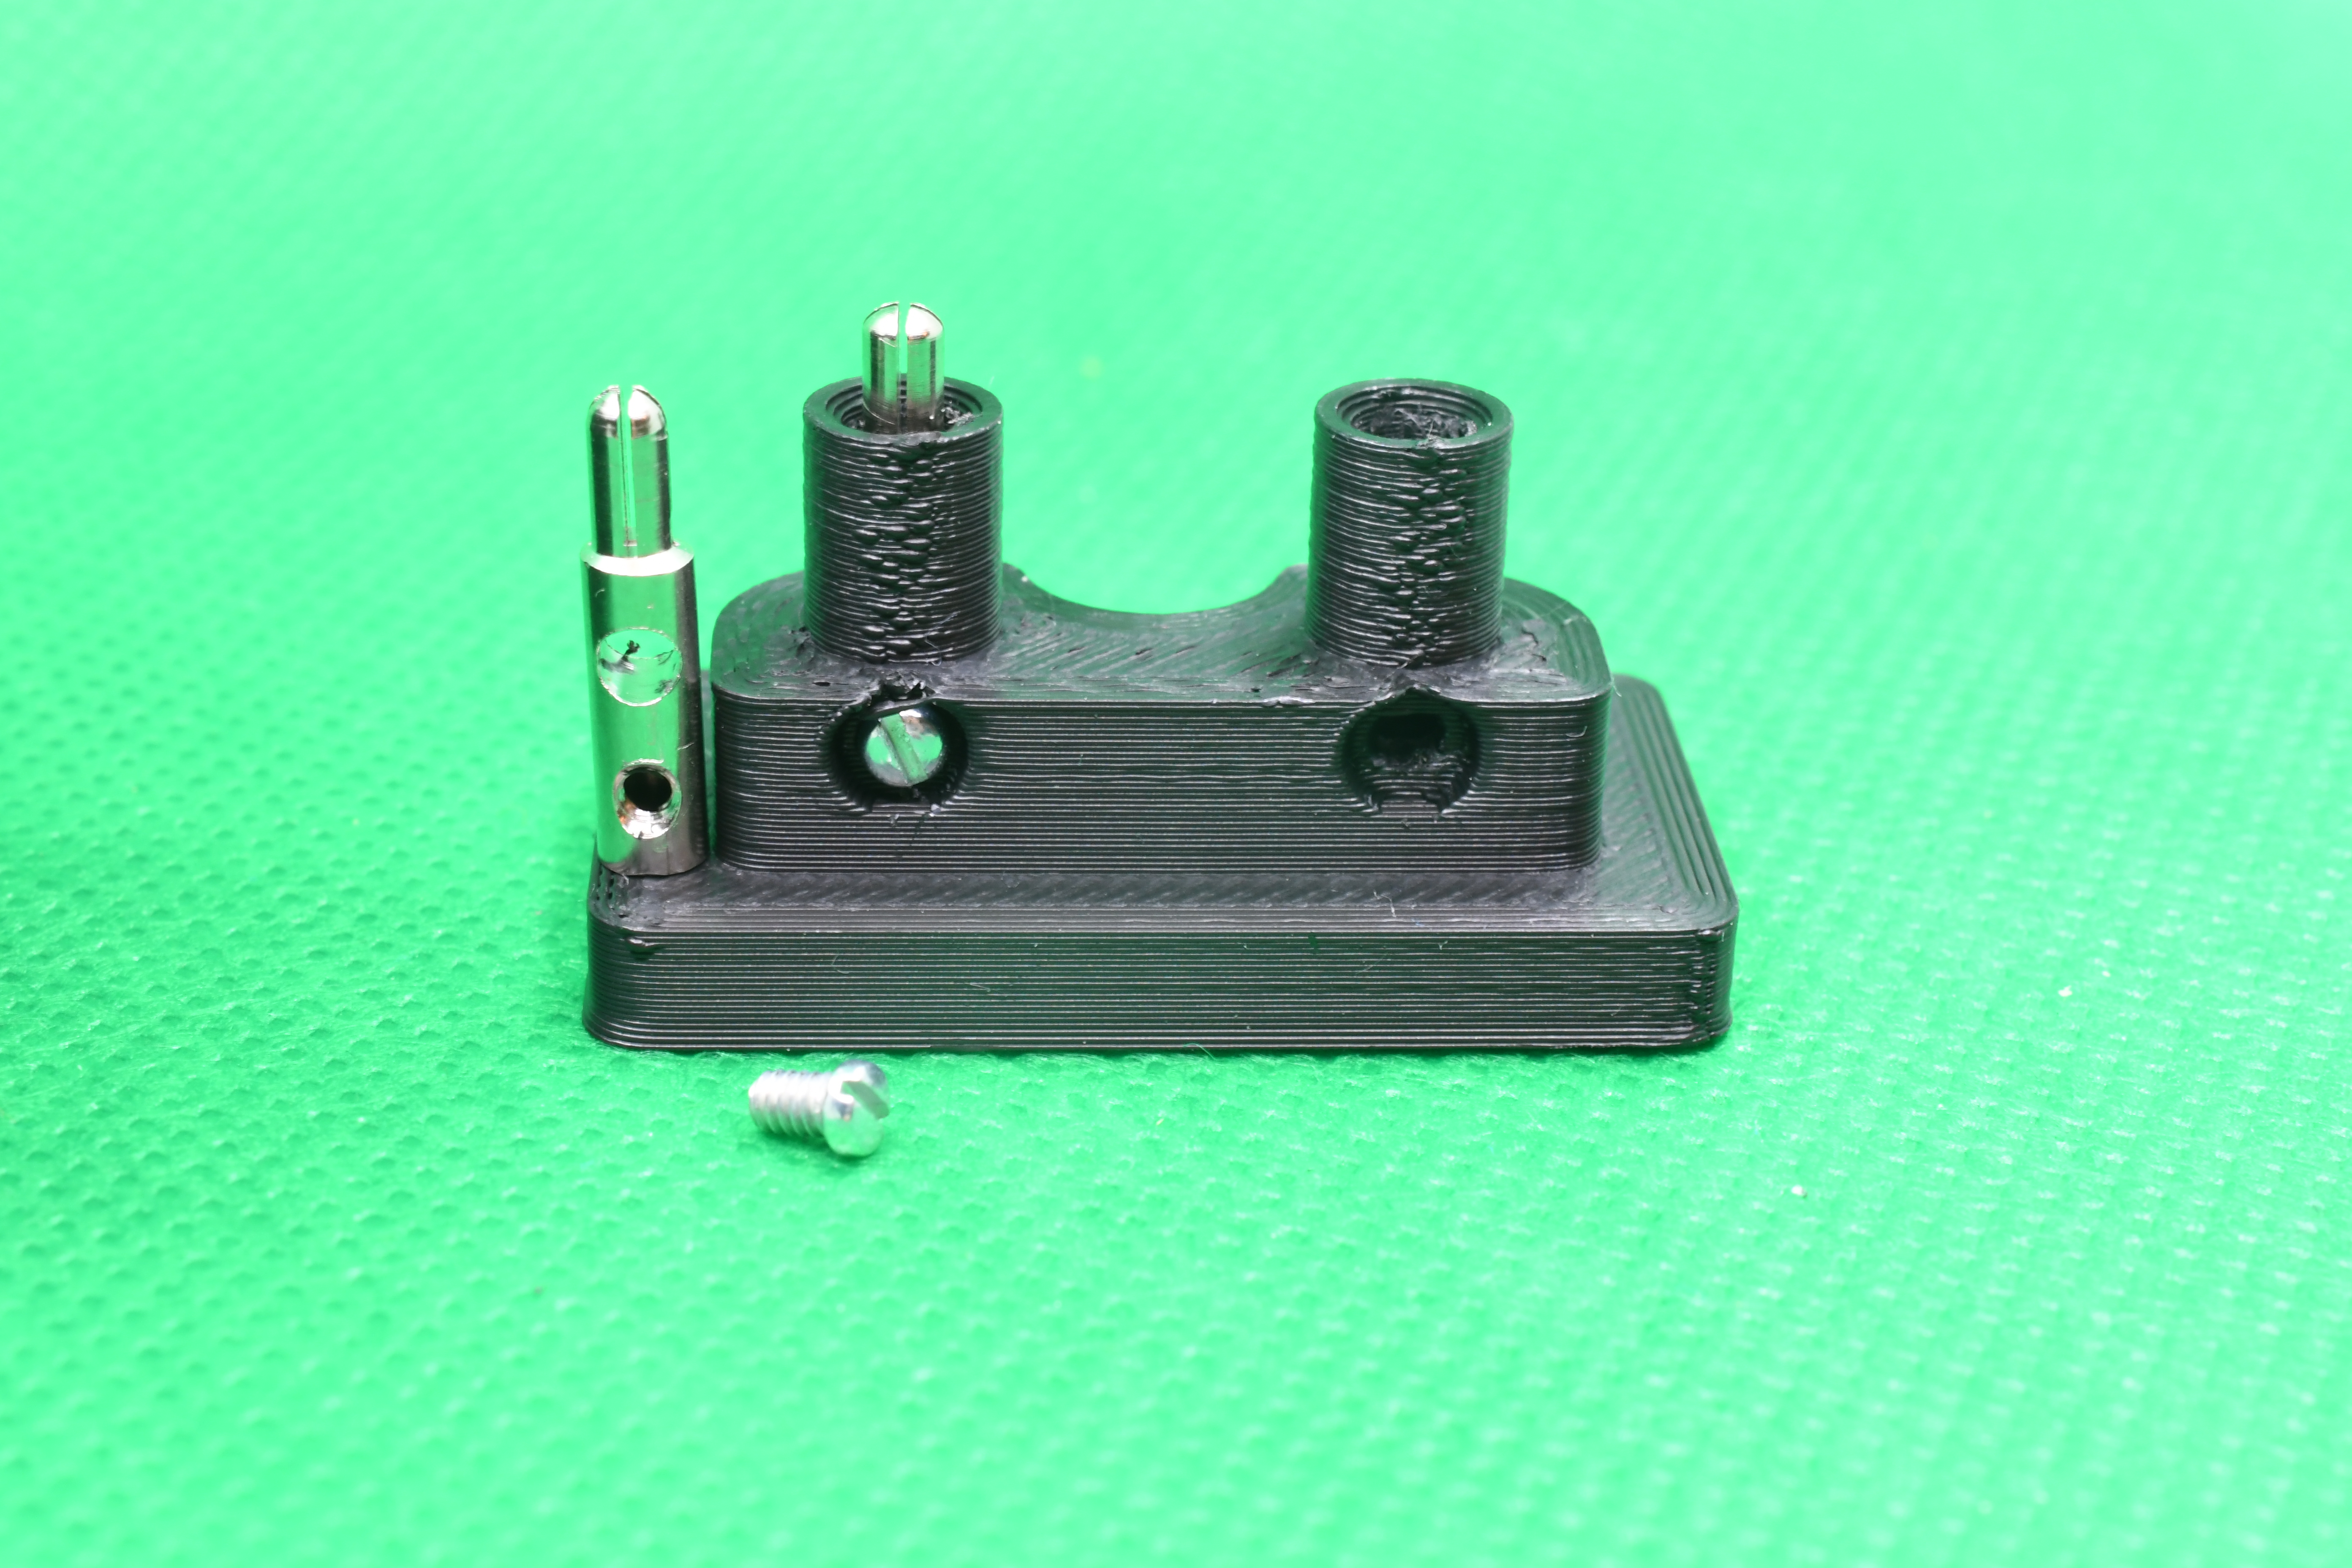
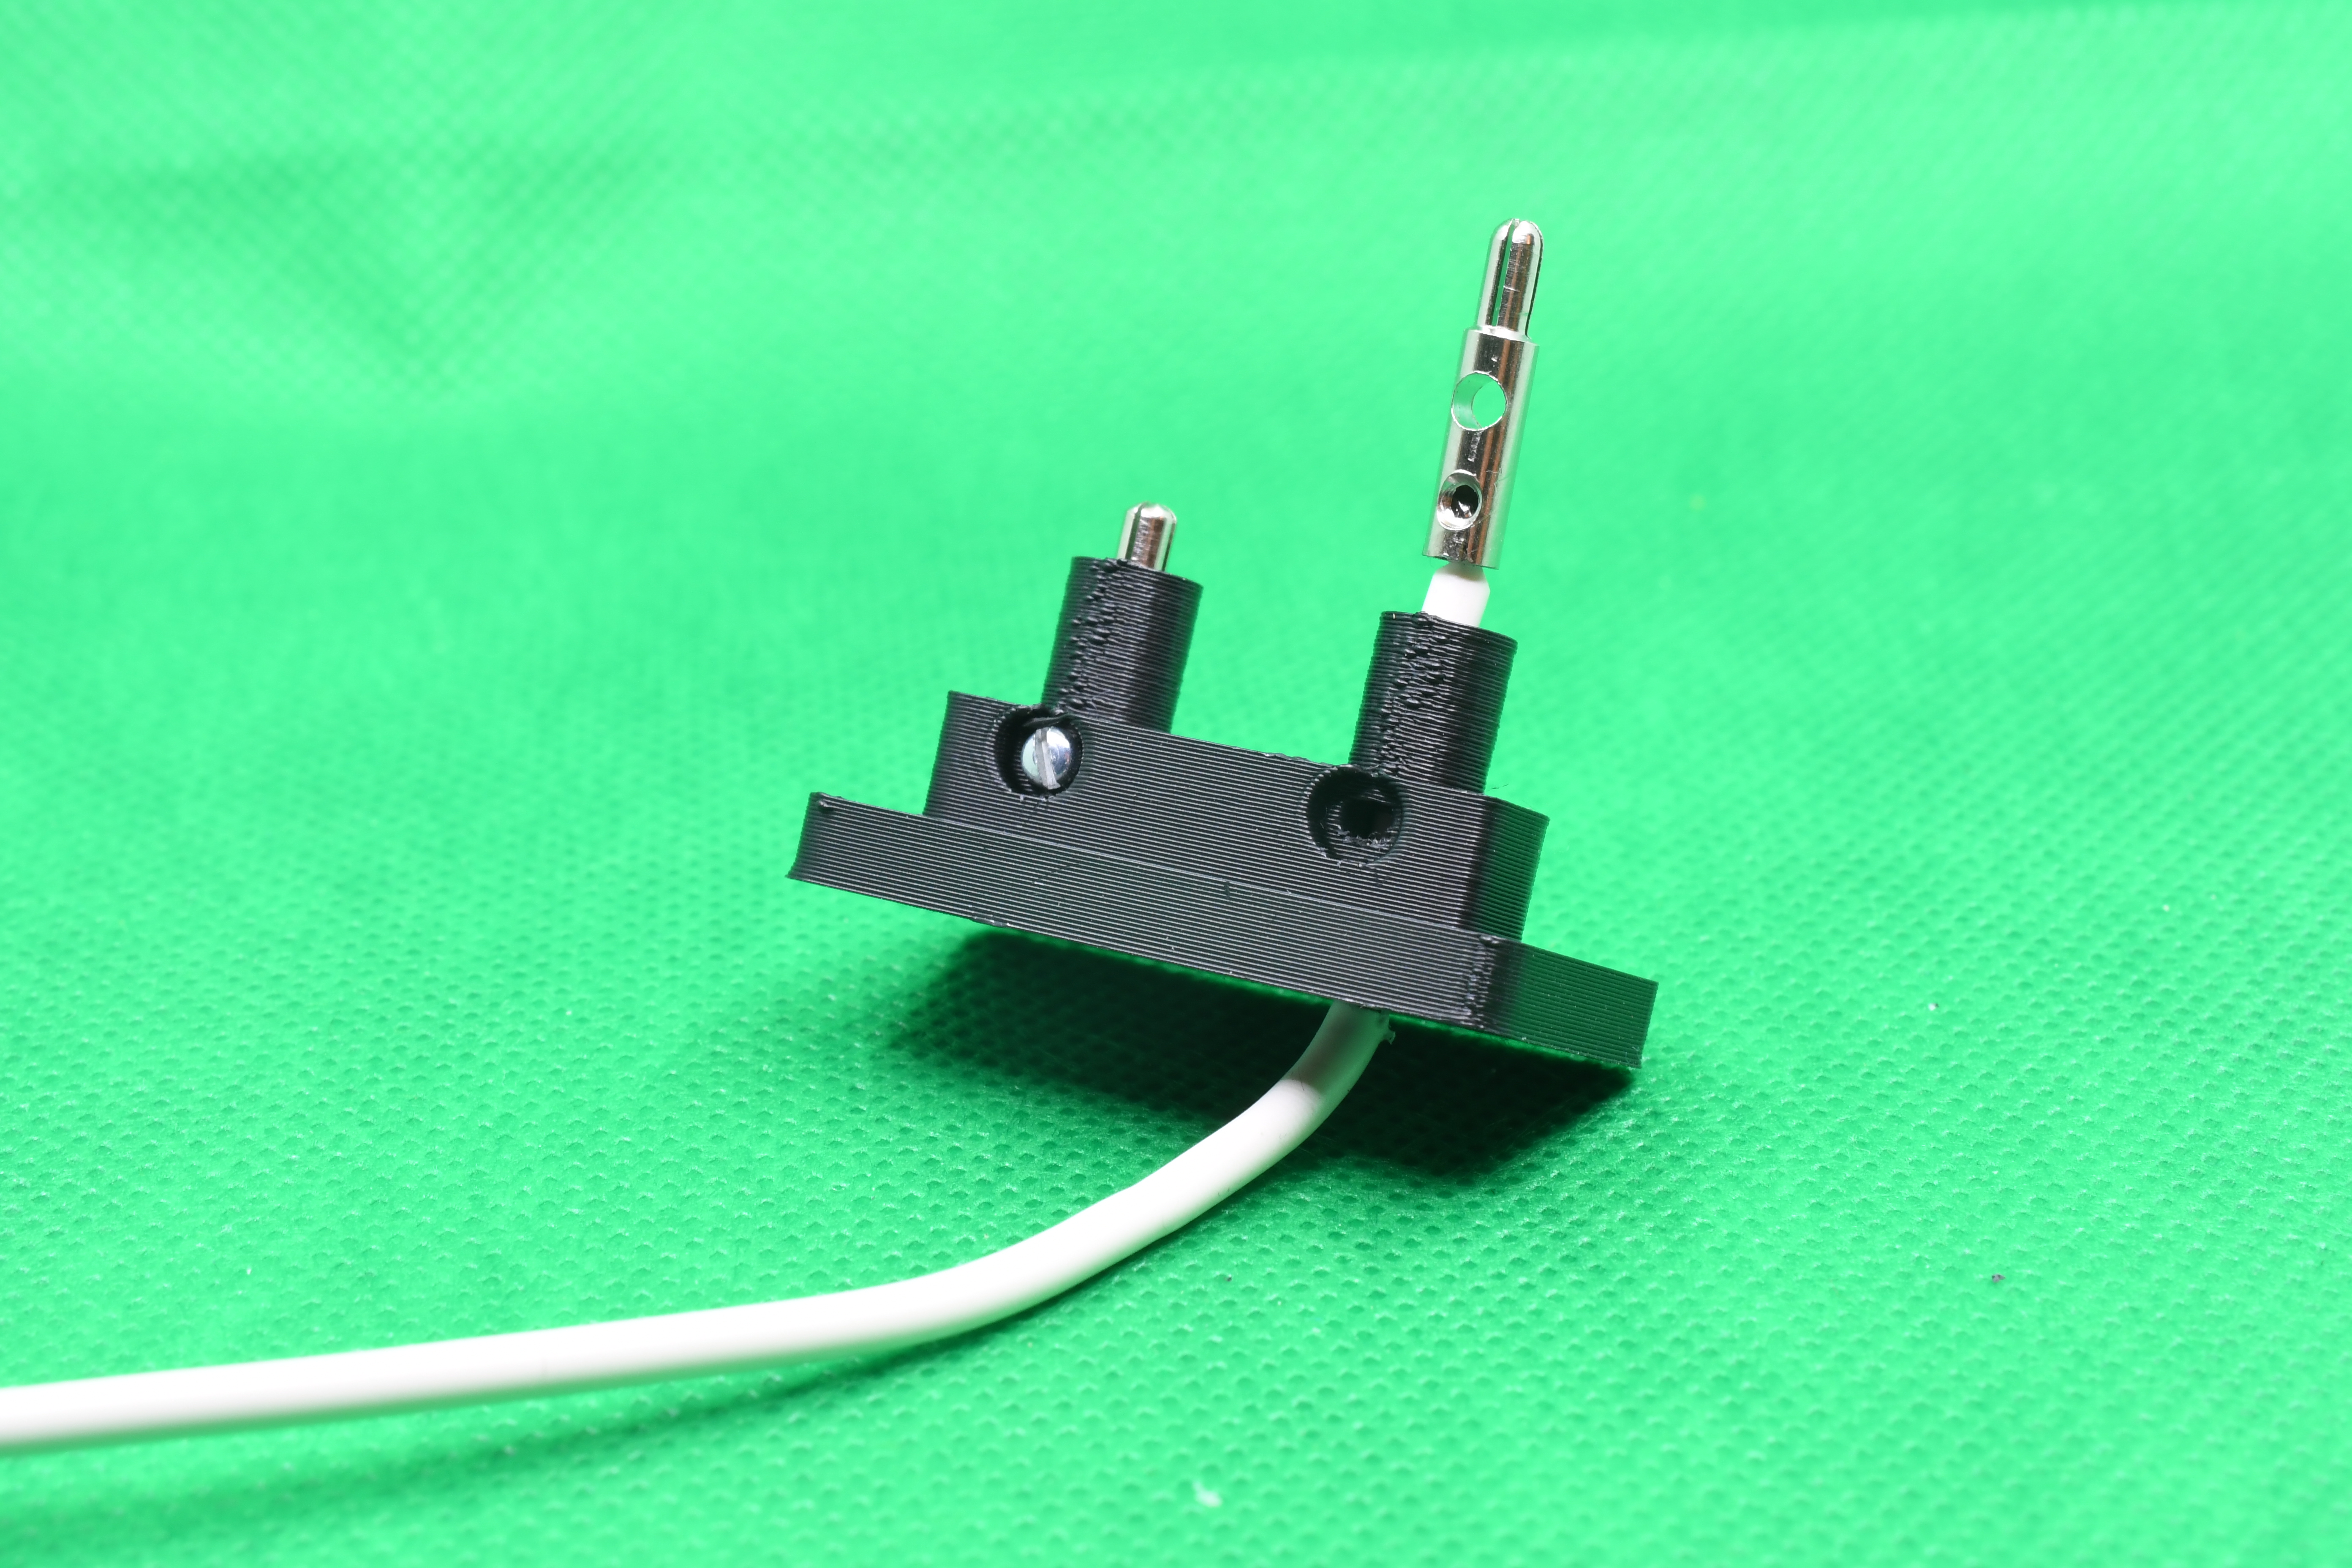
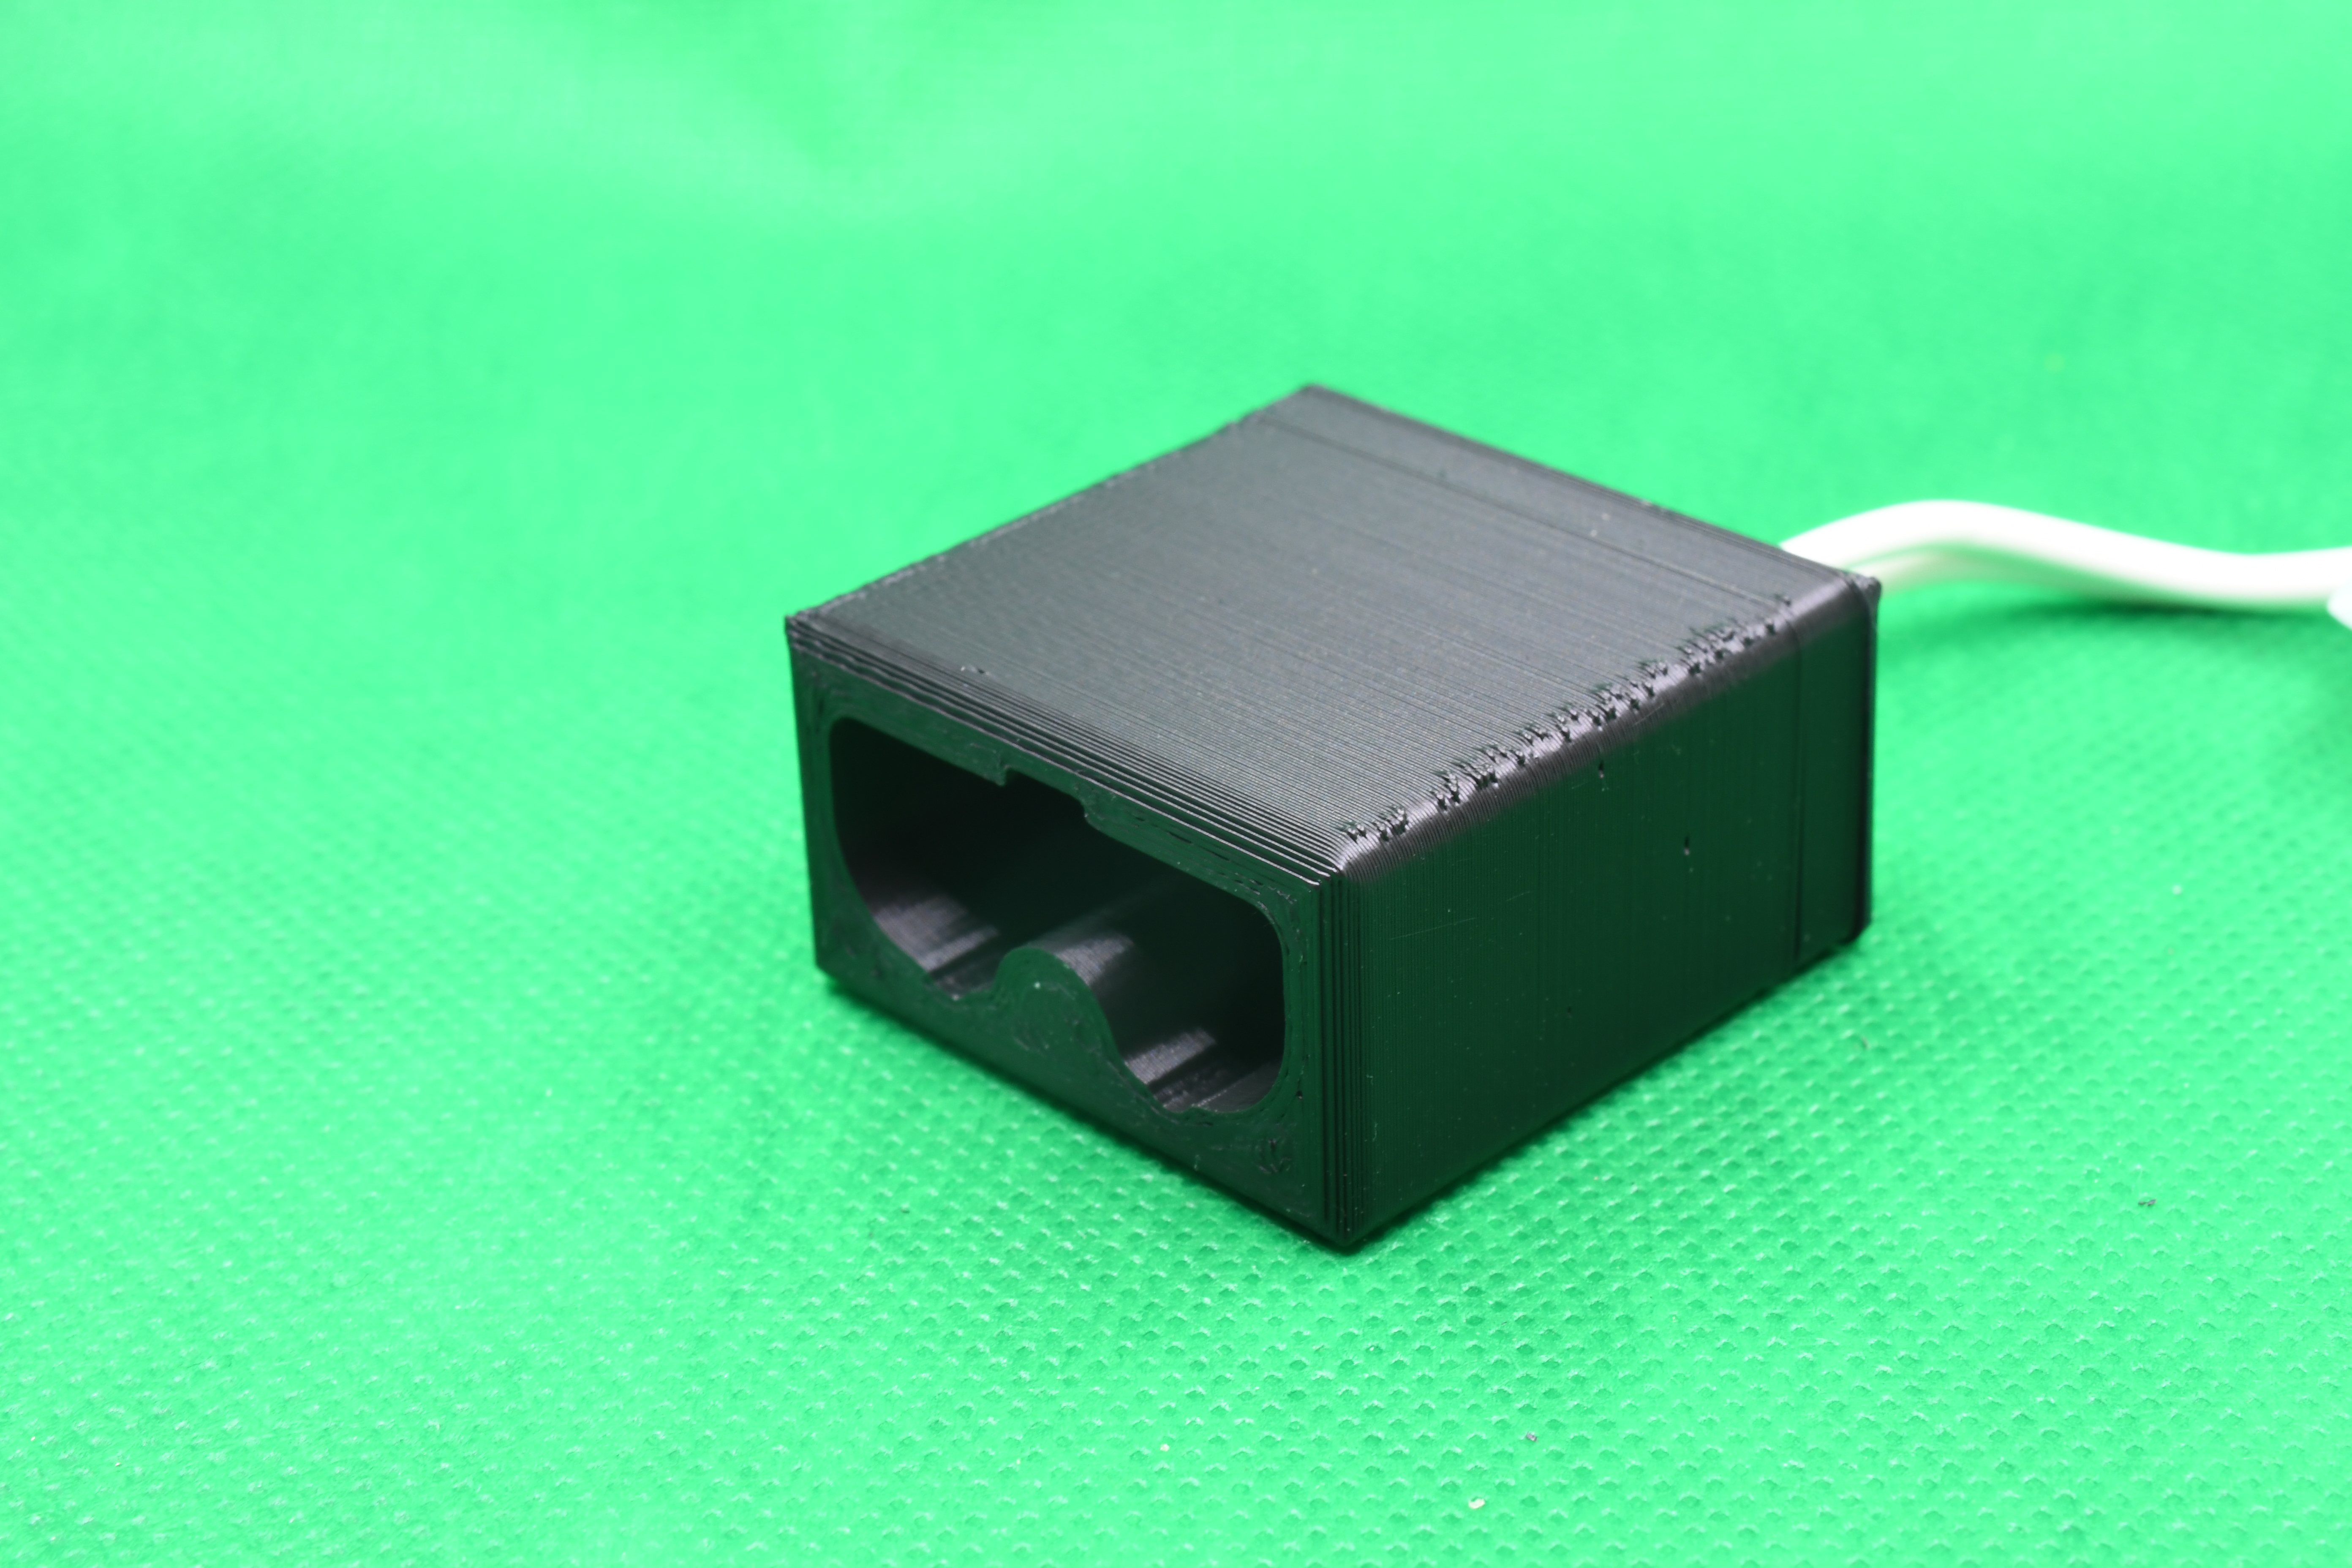
So, long story short, I designed a more practical and cheaper solution: A 3D-printed connector to put on a Zoll OneStep CPR electrode plug. You can find the stl-file at Thingiverse. You will also need two small banana-plugs like these, a soldering iron and some glue.

Disclaimer: Build this at your own risk! I will not take any responsability if you electrocute yourself, your manikin, your students or your cat!
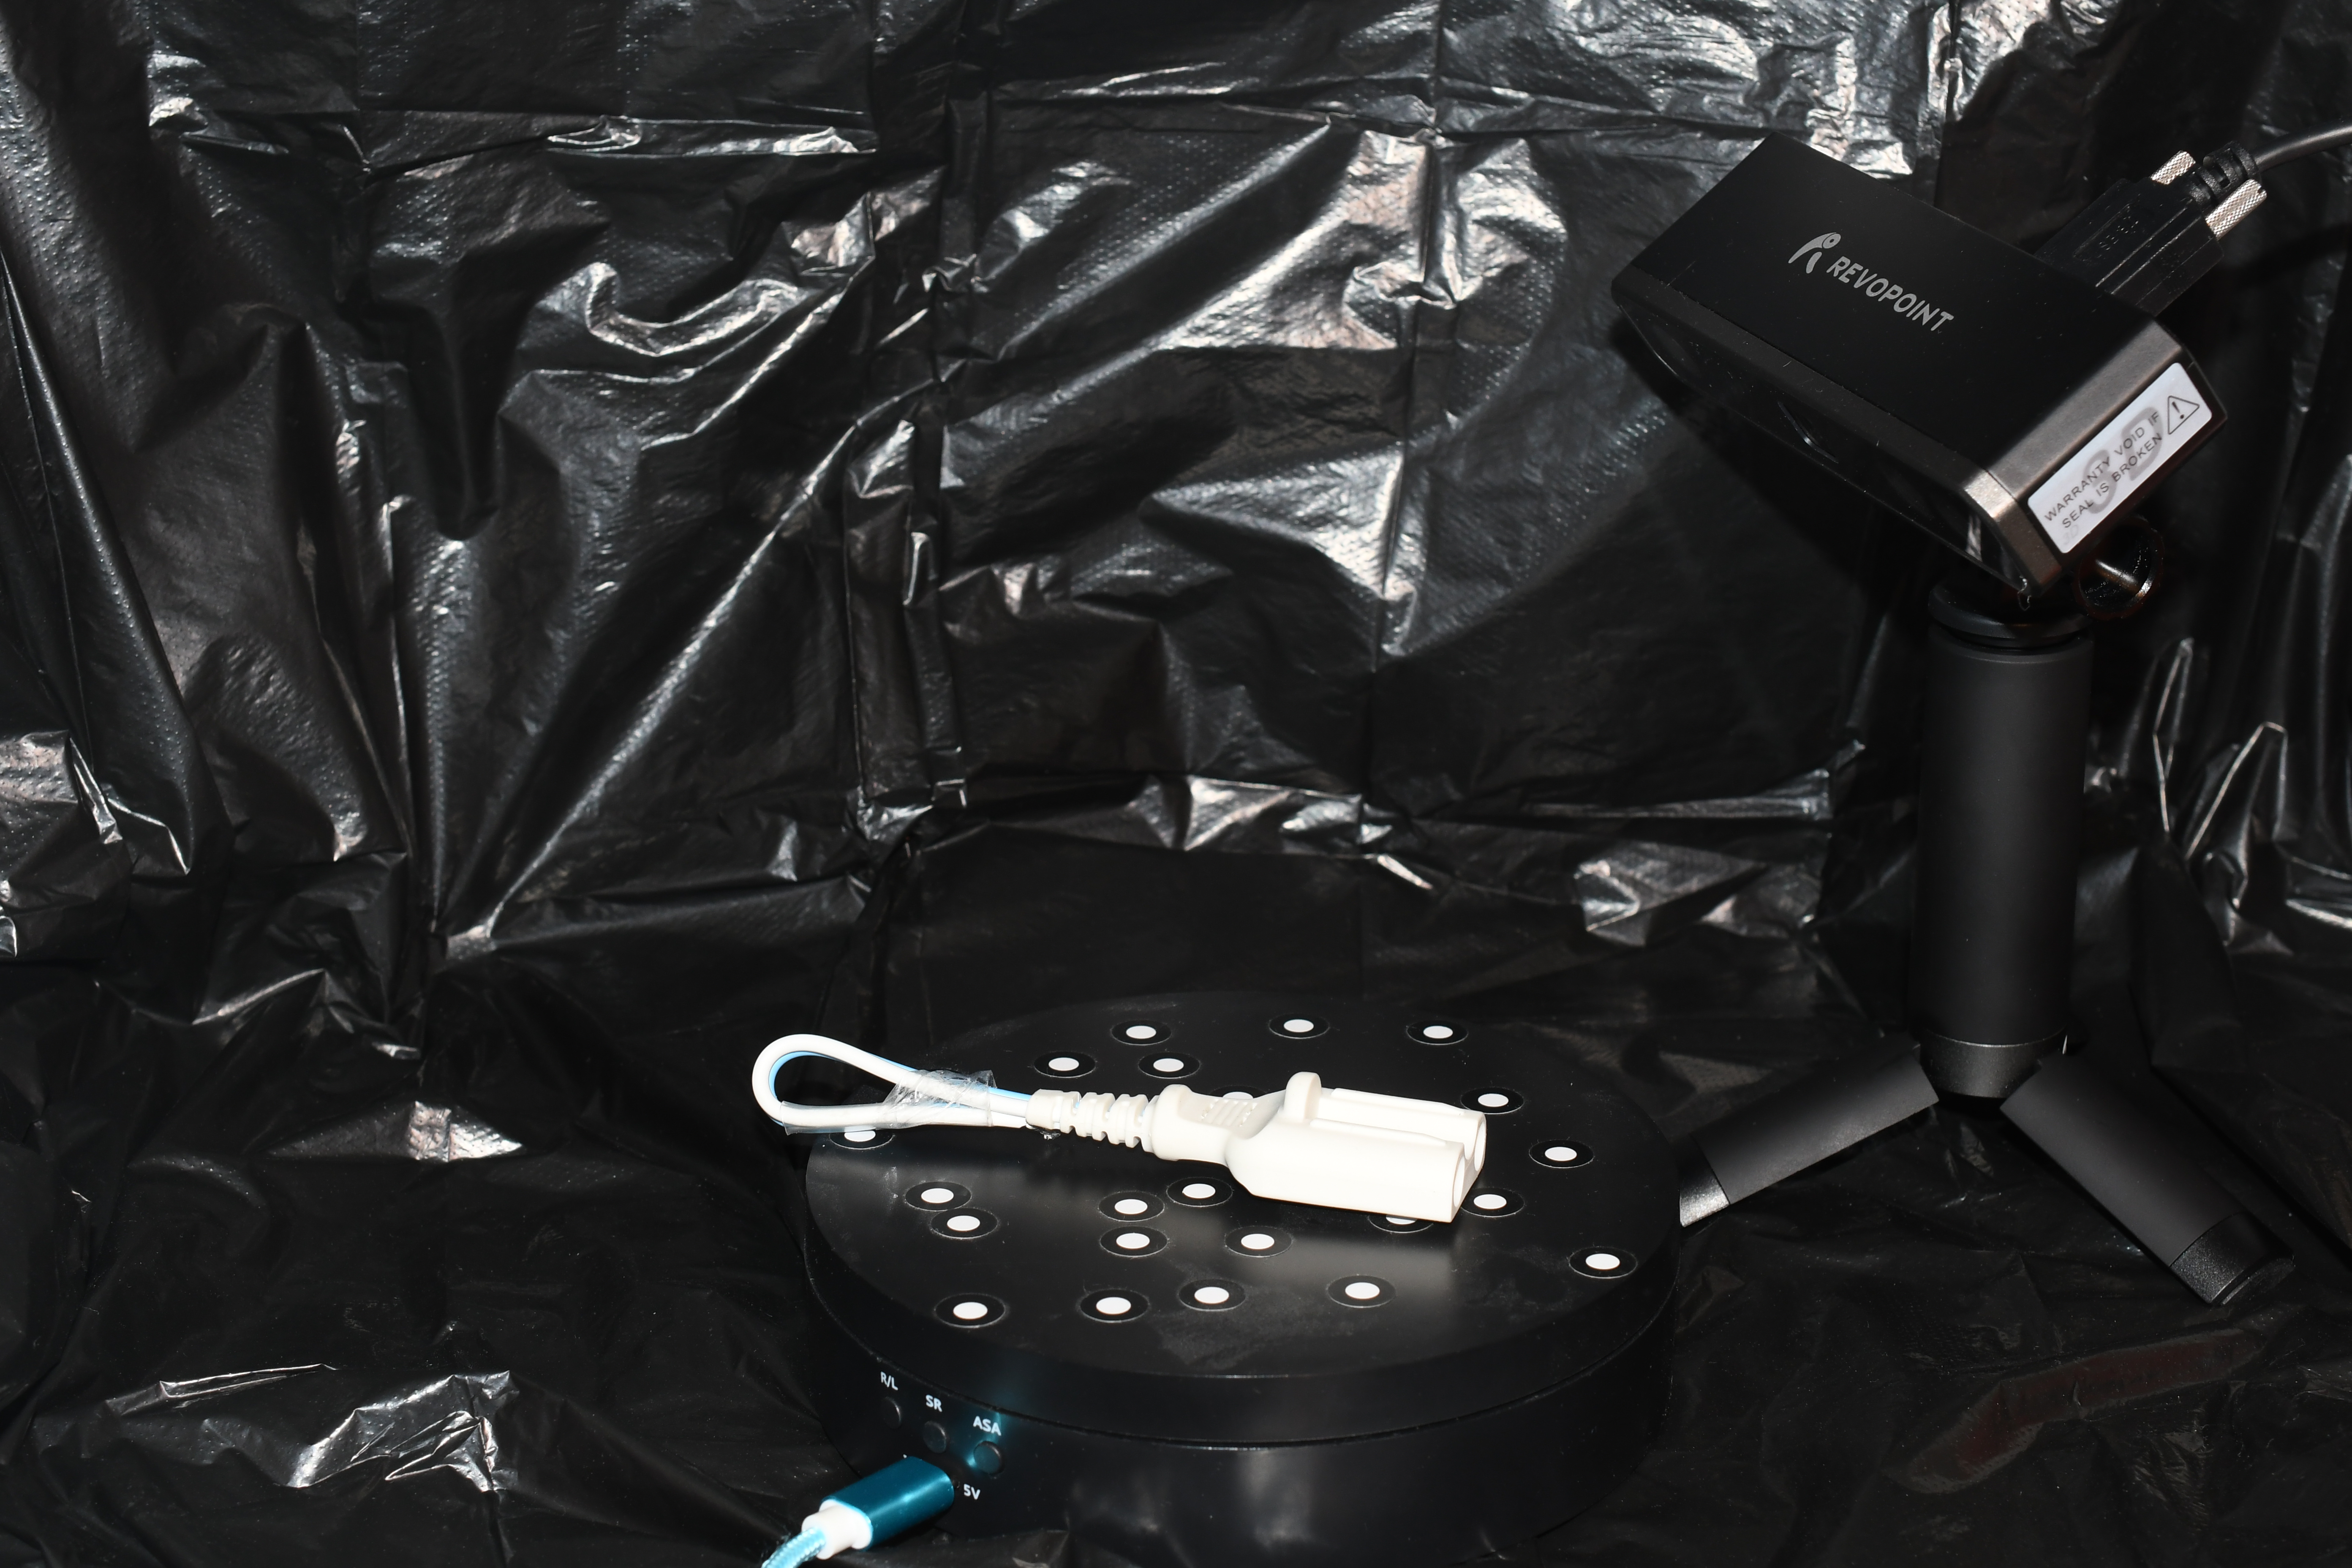
I desingned this using the Revopoint Mini 3D-Scanner on the original plug and constructing the adapter in CAD around it. Thankfully, the original plug was white and not shiny, which are about the only circumstances this rotten scanner actually works as advertised…